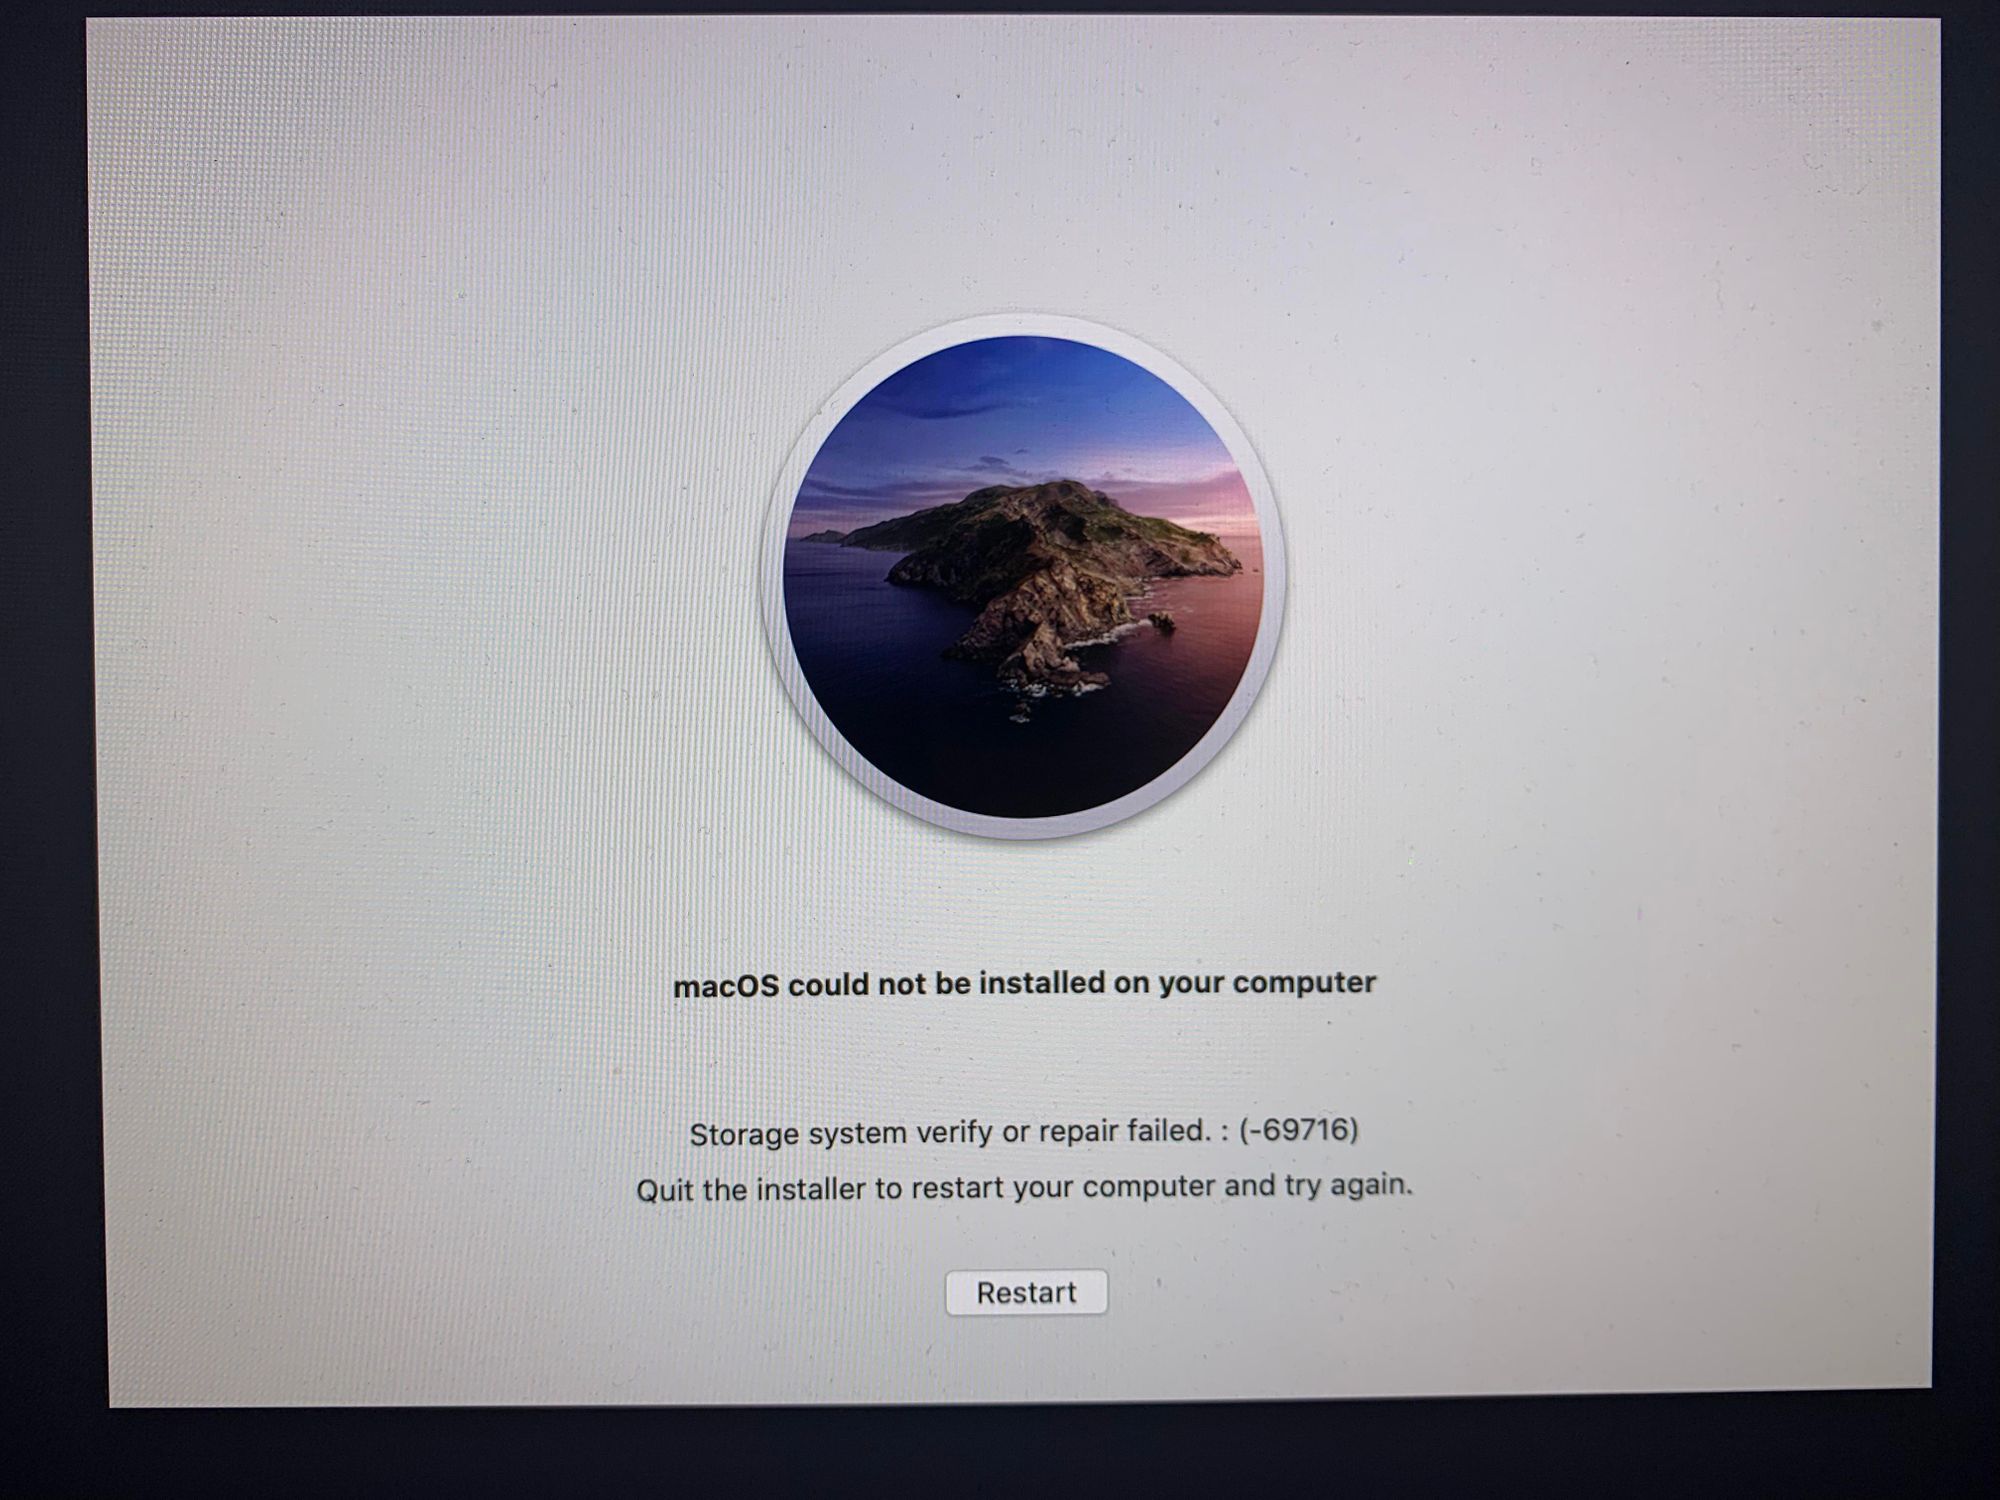
macOS Catalina Upgrade: “storage system verify or repair failed. : (-69716)”
My Mac Mini's journey from Mojave to Catalina A problem that annoyed me and a solution that worked for me.
11 May 2021 Update: I have discovered that an easy fix for this was replacing the RAM. I had bought non APPLE ram for my Mac Mini and although the RAM was working fine, I believe during the update process, Apple checks hardware and the RAM was causing issues. This has been confirmed by my local Apple Store and I have since replaced the RAM with another set from a different third party and everything is working smoothly.
On June 22, Apple introduced macOS Big Sur and till this very date I have mixed feelings on this recent release. However, I noticed that my beloved 2012 Mac mini is no longer supported. This means macOS Catalina will be the last Mac operating system to support my Mac mini. What was surprising to me, I had not updated my Mac mini from Mojave to Catalina. So, I updated it, and this happened:

There are several solutions that were recommended, but none I found convincing. I did not want to lose any data, and I did not want to start from scratch on this Mac as It has been running for years and does all kinds of things and workflows that will be too time consuming to re-setup.
My solution
You will need:
- Another Mac other than the one that has this issue (in my case 2016 MacBook Pro)
- External drive (I used my Samsung T5 SSD) formatted in APFS
- SuperDuper : best macOS backup app
Solution: Use another Mac to update from Mojave to Catalina. The entire process took 3 hours.
The following worked for me:
Step One: Make a SuperDuper backup of the Mac mini on the Samsung T5. Now your Samsung T5 is the replica of macOS that was running on your Mac mini.
Step Two: Connect the Samsung T5 to MacBook Pro. The Samsung T5 will show up as external hard drive on the MacBook Pro.
Step Three: Download the macOS Catalina on the MacBook Pro. It's an 8gb file so grab a drink or watch your favourite TV show.
Step Four: Run the Catalina installer on the MacBook Pro. When the installer asks which hard drive to install in, select the Samsung T5 external hard drive. The installation will take some time and your MacBook will restart many times. Once the installation has been successful, shutdown your MacBook and remove the Samsung T5.
Step Five: Boot Mac mini from the external drive by using Startup Disk option. The idea is to use the external drive to boot your Mac mini to confirm that the Catalina update is working on the Mac mini.
Step Six: Use SuperDuper to transfer from Samsung T5 to the Mac mini hard drive. You do this by backing up the Samsung T5 to the existing hard drive on the Mac mini.
Step Seven: Once the above SuperDuper process is complete, boot your Mac mini from your Mac mini hard drive using Startup Disk option
Step Eight: Enjoy Catalina without losing any data or reinstalling anything.
This method worked for me. Should you require any clarification, please contact me on @MereCivilian or email me: mc@merecivilian.com.